


and stylish makeover? Look no further! Introducing the wood floating vanity – the perfect solution to revitalize your bathroom décor.
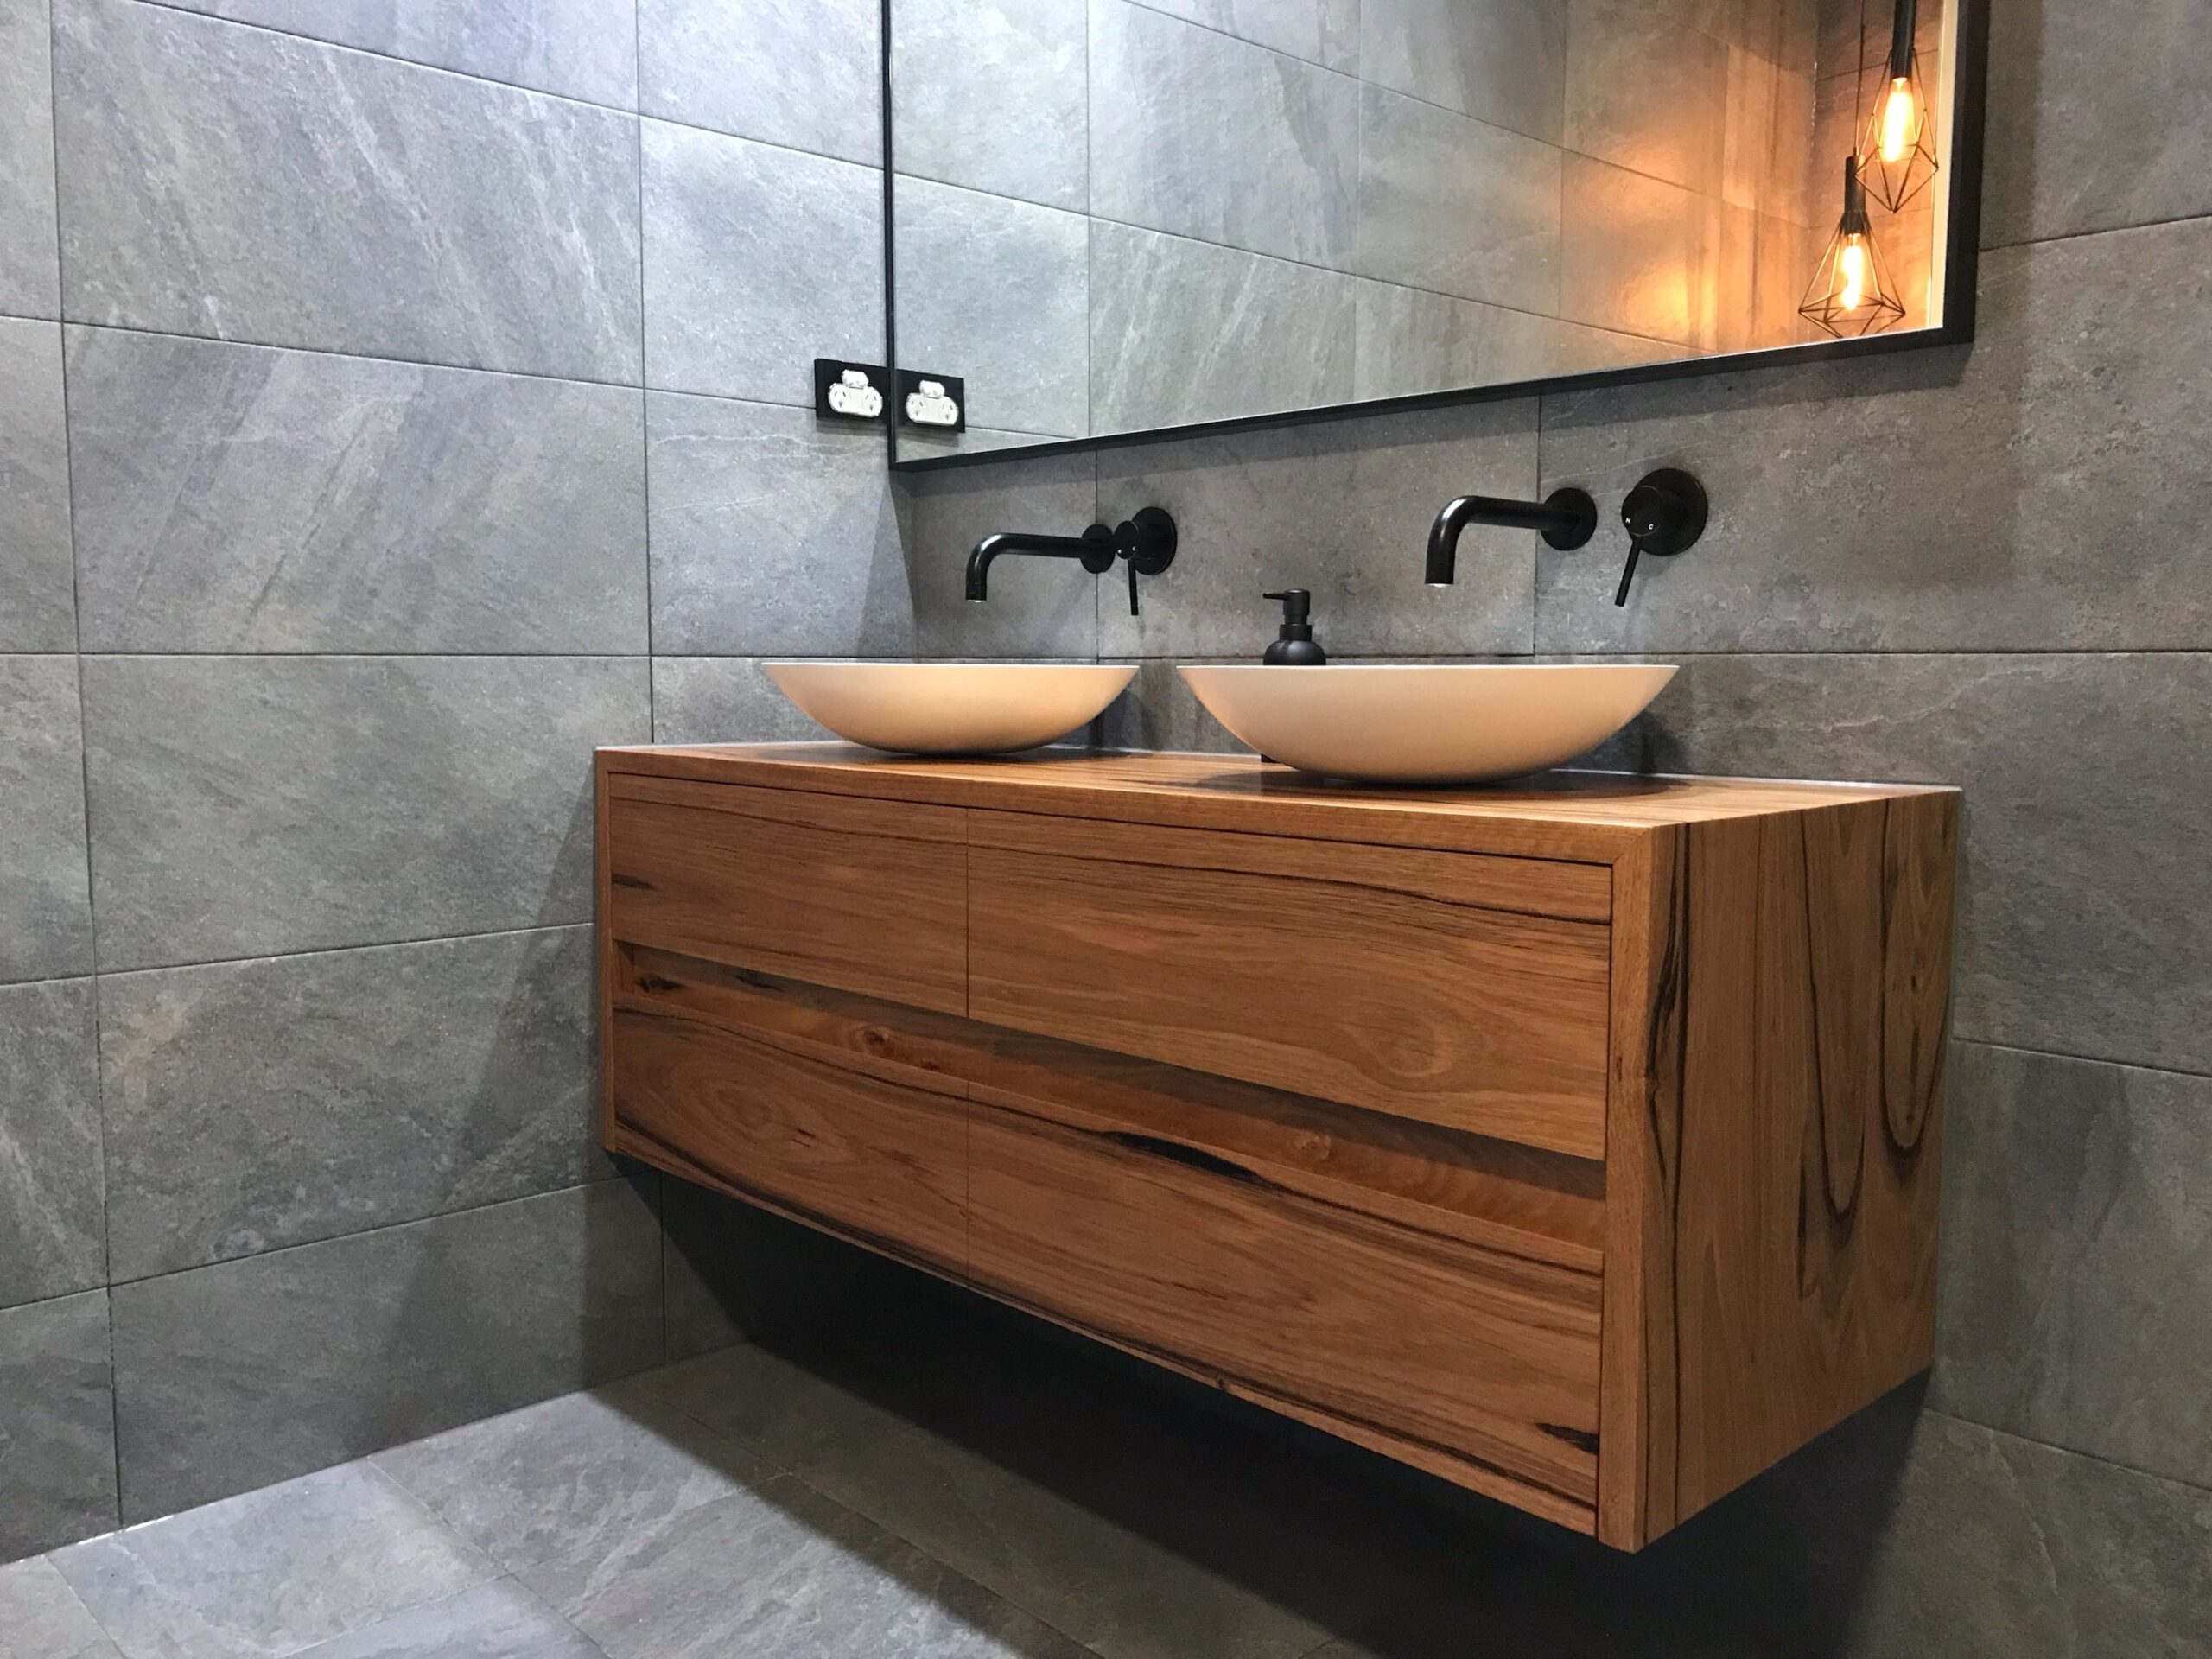
With its sleek and contemporary design, a wood floating vanity adds a touch of elegance and sophistication to any bathroom. It creates an illusion of more space in your bathroom by appearing to float effortlessly above the floor. Not only is a wood floating vanity visually stunning, but it also offers practical benefits. The open space beneath the vanity allows for easy cleaning, making it a hygienic choice for busy bathrooms.
Crafted from high-quality wood materials, these vanities are built to last. They come in a wide range of finishes, including oak, walnut, and teak, giving you the freedom to choose the perfect match for your bathroom’s aesthetic. Whether you prefer a minimalist look or a rustic vibe, a wood floating vanity can seamlessly complement any style.
Transform your bathroom into a luxurious oasis with a stunning wood floating vanity. Say goodbye to outdated and hello to stylish functionality. Upgrade your bathroom décor today!
Benefits of Using a Wood Floating Vanity in your Bathroom
Contents
- 1 Benefits of Using a Wood Floating Vanity in your Bathroom
- 2 Types of Wood Used for Floating Vanities
- 3 Choosing the Right Size and Style of Wood Floating Vanity
- 4 Installation Process for Wood Floating Vanities
- 5 Maintenance Tips for Keeping your Wood Floating Vanity Looking its Best
- 6 Styling Ideas for Incorporating a Wood Floating Vanity into your Bathroom Décor
A wood floating vanity offers numerous benefits that make it a popular choice for bathroom renovations. Let’s explore some of the key advantages:
- Space-saving design: The floating nature of these vanities creates an illusion of more space in your bathroom. By eliminating the need for legs or a base, a wood floating vanity gives the appearance of a larger and more open area. This is especially useful in smaller bathrooms where maximizing space is crucial.
- Easy cleaning and maintenance: With a wood floating vanity, cleaning becomes a breeze. The open space beneath the vanity allows you to easily access and clean the floor, making it a hygienic choice for bathrooms. Say goodbye to hard-to-reach corners and hello to effortless maintenance.
- Versatile style options: Wood floating vanities come in a wide range of finishes and styles, allowing you to find the perfect match for your bathroom’s aesthetic. From sleek and modern to rustic and farmhouse-inspired, there’s a wood floating vanity to suit every taste. You can also choose from different wood types, such as oak, walnut, or teak, to add warmth and character to your bathroom.
- Durability and longevity: Crafted from high-quality wood materials, a wood floating vanity is built to last. The sturdy construction ensures that it can withstand the rigors of daily use without compromising its appearance. Investing in a wood floating vanity means you can enjoy its beauty and functionality for years to come.
- Customizable storage options: Many wood floating vanities come with built-in storage solutions, such as drawers or shelves, allowing you to keep your bathroom essentials organized and easily accessible. This helps to declutter your bathroom and create a more streamlined and organized space.
By choosing a wood floating vanity bathroom, you can enjoy the benefits of a stylish and functional centerpiece that enhances the overall aesthetics and functionality of your space.
Types of Wood Used for Floating Vanities
When it comes to wood floating vanities, there are several types of wood commonly used for their construction. Each type has its own unique characteristics and aesthetic appeal. Let’s take a closer look at some popular options:
- Oak: Oak is a timeless and versatile wood choice for floating vanities. It is known for its durability and strength, making it a practical option for high-traffic bathrooms. Oak wood has a beautiful grain pattern that adds warmth and character to any space. It can be stained in various shades, from light honey tones to rich espresso hues, allowing you to achieve the desired look for your bathroom.
- Walnut: Walnut is a luxurious and elegant wood option that adds a touch of sophistication to any bathroom. It has a rich, dark brown color with a beautiful grain pattern that adds visual interest. Walnut wood is known for its durability and resistance to moisture, making it a suitable choice for bathrooms. Whether you prefer a modern or traditional aesthetic, a walnut wood floating vanity can elevate the overall look of your bathroom.
- Teak: Teak is a popular choice for wood floating vanities due to its natural resistance to water and moisture. It has a warm golden-brown color and a distinctive grain pattern that adds a touch of natural beauty to your bathroom. Teak wood is highly durable and requires minimal maintenance, making it a practical option for busy households. A teak wood floating vanity can create a spa-like atmosphere in your bathroom, evoking a sense of tranquility and relaxation.
- Bamboo: Bamboo is a sustainable and eco-friendly choice for wood floating vanities. It is a fast-growing material that replenishes quickly, making it an environmentally conscious option. Bamboo has a light and airy appearance, perfect for creating a minimalist and contemporary aesthetic in your bathroom. It is also moisture-resistant, making it suitable for humid bathroom environments.
When choosing the type of wood for your floating vanity, consider factors such as durability, aesthetic appeal, and maintenance requirements. Each wood type has its own unique characteristics that can enhance the overall look and functionality of your bathroom.
Choosing the Right Size and Style of Wood Floating Vanity
Choosing the right size and style of wood floating vanity is essential to ensure it fits seamlessly into your bathroom and complements your existing décor. Here are some factors to consider when making your selection:
- Bathroom size: Measure the available space in your bathroom to determine the appropriate size of the vanity. Consider the width, depth, and height of the vanity, ensuring it allows for comfortable movement within the bathroom. If you have a small bathroom, opt for a compact floating vanity to maximize space. For larger bathrooms, you can choose a larger vanity to make a bold statement.
- Storage needs: Assess your storage needs and choose a wood floating vanity with adequate storage options. Consider the number of drawers or shelves you require to keep your bathroom essentials organized. If you have limited storage space in your bathroom, opt for a vanity with built-in storage solutions to optimize functionality.
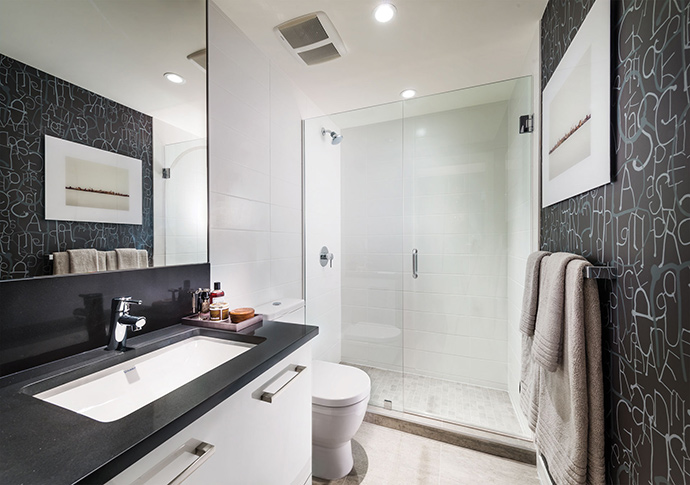
- Style and aesthetics: Consider the overall style and aesthetics of your bathroom when selecting a wood floating vanity. Determine whether you prefer a modern, traditional, or rustic look. Pay attention to the color and finish of the vanity to ensure it complements your existing bathroom décor. If you have a minimalist bathroom, a sleek and simple design would be a perfect fit. For a more rustic or farmhouse-inspired bathroom, opt for a vanity with distressed wood or a reclaimed wood finish.
- Sink type: Decide on the type of sink you prefer for your wood floating vanity. You can choose from options such as undermount sinks, vessel sinks, or integrated sinks. Consider the size and shape of the sink, as well as the materials used, to ensure it aligns with your overall design vision.
By carefully considering these factors, you can choose a wood floating vanity that not only fits perfectly into your bathroom space but also enhances the overall aesthetics and functionality of your bathroom.
Installation Process for Wood Floating Vanities
Installing a wood floating vanity may seem like a daunting task, but with the right tools and guidance, it can be a relatively straightforward process. Here is a step-by-step guide to help you with the installation:
- Prepare the space: Remove the existing vanity and clear the area where the new wood floating vanity will be installed. Ensure the wall is clean and free from any debris or old adhesive.
- Locate the studs: Use a stud finder to locate the studs in the wall where the vanity will be mounted. Mark the locations of the studs with a pencil.
- Measure and mark: Measure and mark the desired height for your wood floating vanity on the wall. Use a level to ensure the marks are straight and even.
- Install the mounting brackets: Attach the mounting brackets to the wall, ensuring they are aligned with the marked height and the studs. Use screws to secure the brackets to the wall. Make sure the brackets are level and properly aligned.
- Attach the vanity: Lift the wood floating vanity onto the mounting brackets, making sure it is securely in place. Use screws to attach the vanity to the brackets, ensuring a tight fit. Double-check that the vanity is level and properly aligned.
- Connect the plumbing: If your wood floating vanity includes a sink, you will need to connect the plumbing. Follow the manufacturer’s instructions for installing the sink and connecting the water supply lines and drain.
- Finishing touches: Once the vanity is securely installed, make any necessary adjustments to ensure it is level and properly aligned. Use a sealant or caulk to fill any gaps between the vanity and the wall. Install the faucet and any additional hardware, such as drawer pulls or knobs, to complete the look.
It is recommended to consult a professional if you are unsure about any aspect of the installation process. Proper installation is crucial to ensure the stability and functionality of your wood floating vanity.
Maintenance Tips for Keeping your Wood Floating Vanity Looking its Best
To keep your wood floating vanity looking its best and ensure its longevity, regular maintenance is key. Here are some tips to help you maintain the beauty and functionality of your vanity:
- Clean regularly: Wipe down the vanity surface and sink with a soft cloth or sponge using mild soap and water. Avoid using abrasive cleaners or harsh chemicals that can damage the wood finish. Dry the surface thoroughly to prevent water damage.
- Protect from moisture: Wood is susceptible to moisture damage, so it’s important to protect your wood floating vanity from excessive water exposure. Wipe up any spills or splashes immediately to prevent water from seeping into the wood. Consider using a waterproof sealant or wax to add an extra layer of protection.
- Avoid direct heat: Keep your wood floating vanity away from direct heat sources, such as hairdryers or curling irons. Excessive heat can cause the wood to warp or crack. Use a heat-resistant mat or trivet to protect the surface when using hot styling tools.
- Regularly inspect for damage: Check your wood floating vanity regularly for any signs of damage, such as scratches or dents. Address any issues promptly to prevent further damage. Consider using furniture polish or wax to restore the luster and shine of the wood.
- Reapply finish as needed: Over time, the wood finish may start to fade or wear off. If necessary, reapply a protective finish or sealant to restore the appearance and protect the wood from moisture and stains. Follow the manufacturer’s instructions for the specific product you are using.
By following these maintenance tips, you can ensure that your wood floating vanity remains in pristine condition and continues to enhance the beauty of your bathroom for years to come.
Styling Ideas for Incorporating a Wood Floating Vanity into your Bathroom Décor
A wood floating vanity can serve as a stunning centerpiece in your bathroom and tie together the overall décor. Here are some styling ideas to inspire you:
- Modern minimalist: Pair a sleek white or light-colored wood floating vanity with clean lines and minimalist hardware. Keep the rest of the bathroom décor simple and clutter-free, focusing on neutral tones and textures. Add a pop of color with a statement mirror or vibrant accessories.
- Rustic farmhouse: Choose a wood floating vanity with a distressed or reclaimed wood finish to create a rustic farmhouse vibe. Pair it with a vessel sink and a vintage-style faucet for an authentic look. Use natural materials, such as stone or brick, for the flooring and backsplash. Add rustic accents, such as woven baskets or galvanized metal accessories, to complete the look.
- Contemporary elegance: Opt for a dark wood floating vanity with sleek lines and a glossy finish for a contemporary and elegant bathroom. Pair it with a marble countertop and a modern vessel sink for a touch of luxury. Use metallic accents, such as polished chrome or brushed nickel hardware, to add a glamorous touch. Install contemporary light fixtures and a large mirror to enhance the overall sense of sophistication.
- Spa-inspired oasis: Create a soothing and serene atmosphere in your bathroom with a wood floating vanity in a warm tone, such as teak or walnut. Pair it with a natural stone or quartz countertop and an undermount sink for a spa-inspired look. Add soft lighting, plants, and natural textures, such as bamboo or rattan accessories, to create a calming oasis.
Remember to consider your personal style and preferences when styling your wood floating vanity. Don’t be afraid to mix and match different elements to create a unique and personalized bathroom space.
Revitalizing your bathroom décor with a stunning wood floating vanity is a surefire way to create a modern and stylish oasis. The sleek and contemporary design of a wood floating vanity adds a touch of elegance and sophistication to any bathroom, while the open space beneath allows for easy cleaning and maintenance. With a wide range of wood types, finishes, and styles to choose from, you can find the perfect wood floating vanity to complement your bathroom’s aesthetic. By following proper installation and maintenance practices, your wood floating vanity will continue to enhance the beauty and functionality of your bathroom for years to come. So, why wait? Upgrade your bathroom décor today and enjoy the transformative power of a wood floating vanity.


